Cloud Manager » Clusters
CloudManager allows multiple Kubernetes clusters to be managed within the same integrated UI and environment. The top-level abstraction Cluster is used to configure all the details needed to connect to a K8s cluster. Different Spaces may map to namespaces in different clusters. This given a uniform and integrated experience for all K8s and CloudManager resources and operations, such as managing Spaces/namespaces, deploy applications, install solutions, and edit configuration resources. A Cluster information contains several descripive elements such as provider, and region, which allows multi-region and multi-provider high-scale deployments to be seemly integrated an managed. Some inter-space operations are also supported, such as intra and inter-space copy/cut-paste of deployments and other resources, which further enhance devops capabilities.
Clusters maybe and are commonly pre-setup and configured in CloudManager by the administator to be shared between developer users. The administrator may opt to allow or not allow for individual developers to define additional clusters.
Listing Clusters
The Cluster list display all Clusters a user can access. In the admin view, it display the list of all clusters defined in the platform. The button Clusters in the top-level toolbar naviates to the list.
For users, the displayed Clusters include:
- Shared clusters pre-configured and made globally available by the administrator or users with global role Cluster Manager that are enabled.
- Clusters individually defined by the user, if the administrator of CloudManager allowed for this option.
- Clusters shared by other users (e.g. in same group).
In the admin view, all the clusters in the platform are listed including globally shared clusters, and cluster created by individual users. Filtering allow to narrow the lists.
Image below show an example of a cluster listing.

Creation a Cluster
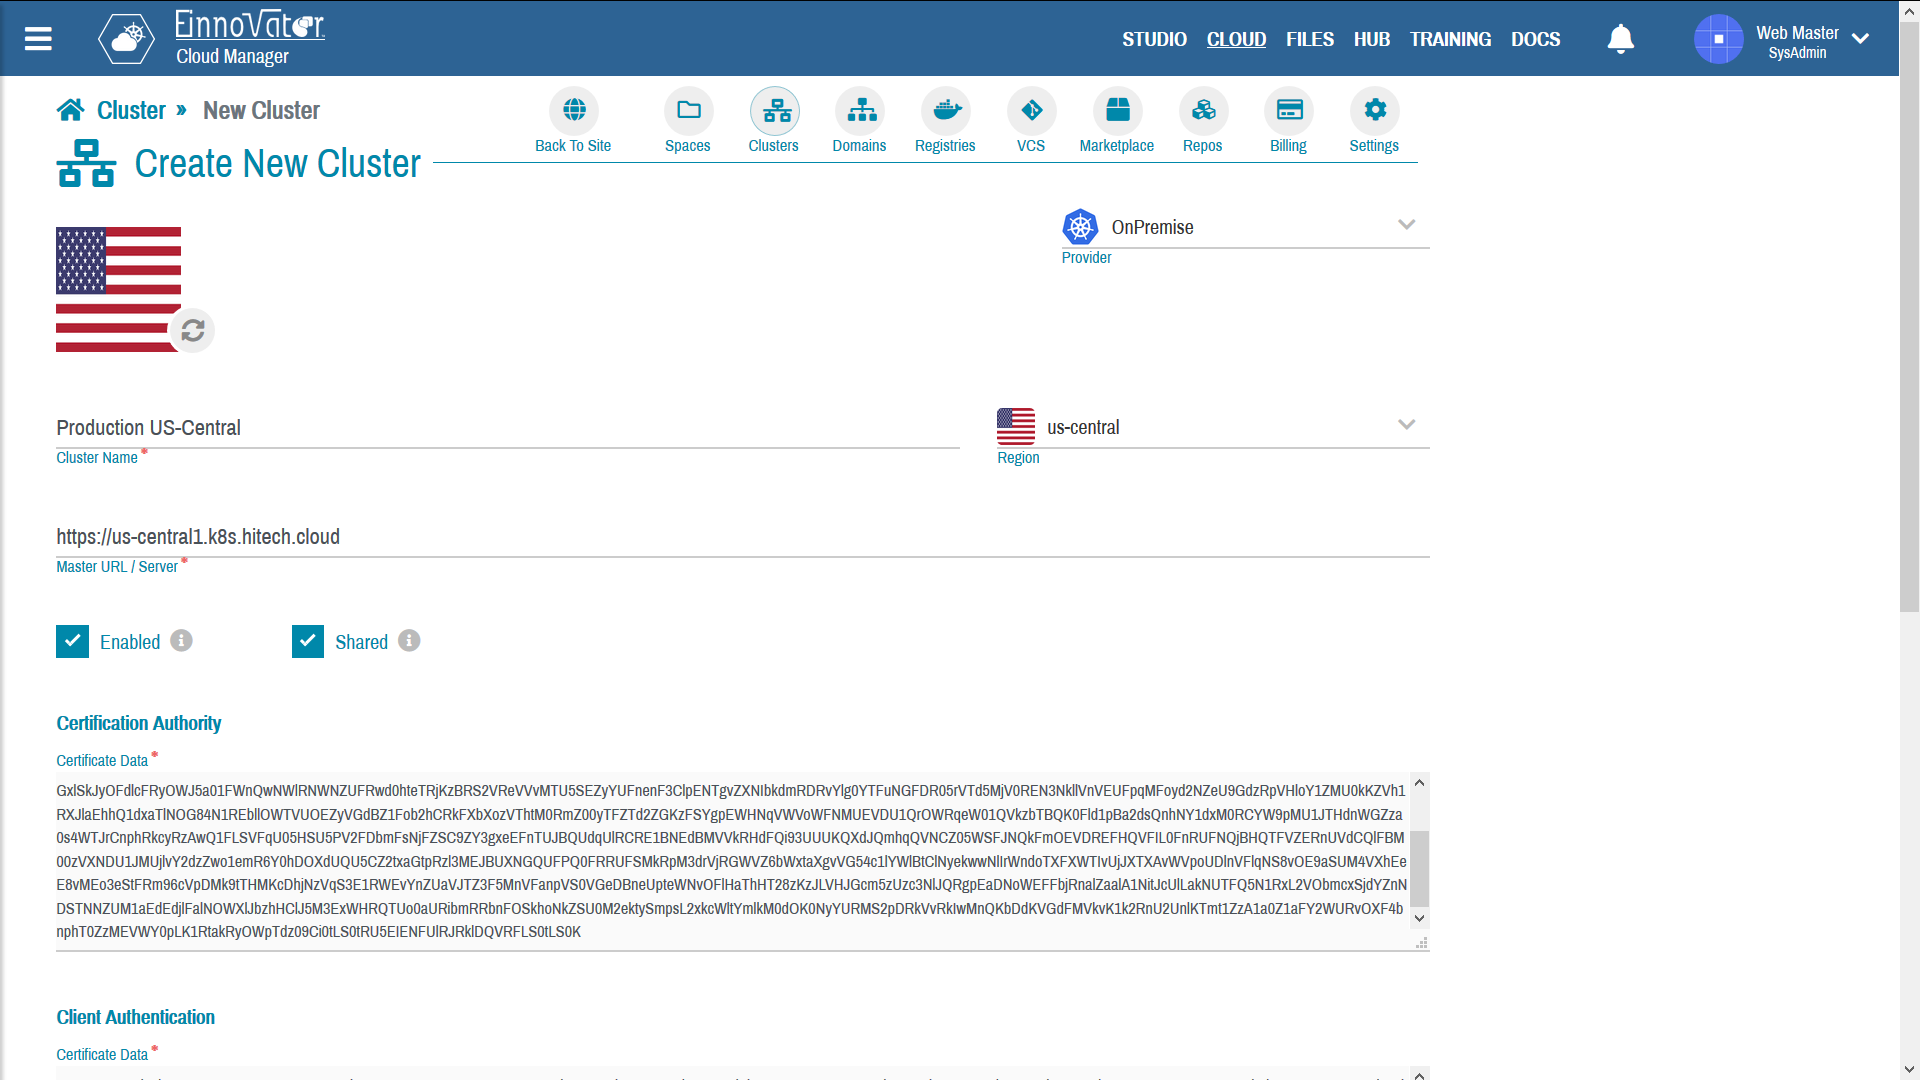
The Cluster creation page/wizard in Cloud Manager is used to define a new Cluster. In the Cluster List press Add New to go Cluster creation page. (Clusters > Create New Cluster)
The following field need to be specified when creating a cluster:
Name— A descriptive name of the cluster (uniqueness recommended, but not required)Master URL— URL of the K8s master node in the clusterProvider— Descriptive field provider of the cluster, which can be OnPermise or on a public cloudRegion— Descriptive field for the geographical location of the ClusterOwner[non Admin] — the user or a group (organization/team) – the Cluster belong tooEnabled— a boolean flag indicating if cluster can be used when creating SpacesShared[Admin only] — a boolean flag indicating the the cluster is to be globally shared by users. Only administrator and users with global roleCluster Managercan set this flag.- Image/Thumbnail (optional)
- Authentication Certificate details in PEM format, including:
- The Public Key of the Certification Authority (that signed the certificate)
- The Certificate (signed Public Key)
- The Private Key (of the certificate key-pair)
The Region field is a merely descriptive, and intended to help in managing large-scale multi-region deployments. It is a enumerated with a large number of values for commonly used regions (e.g. US/EU/Asia East/West/Central, etc.), plus Other as “catch-all”.
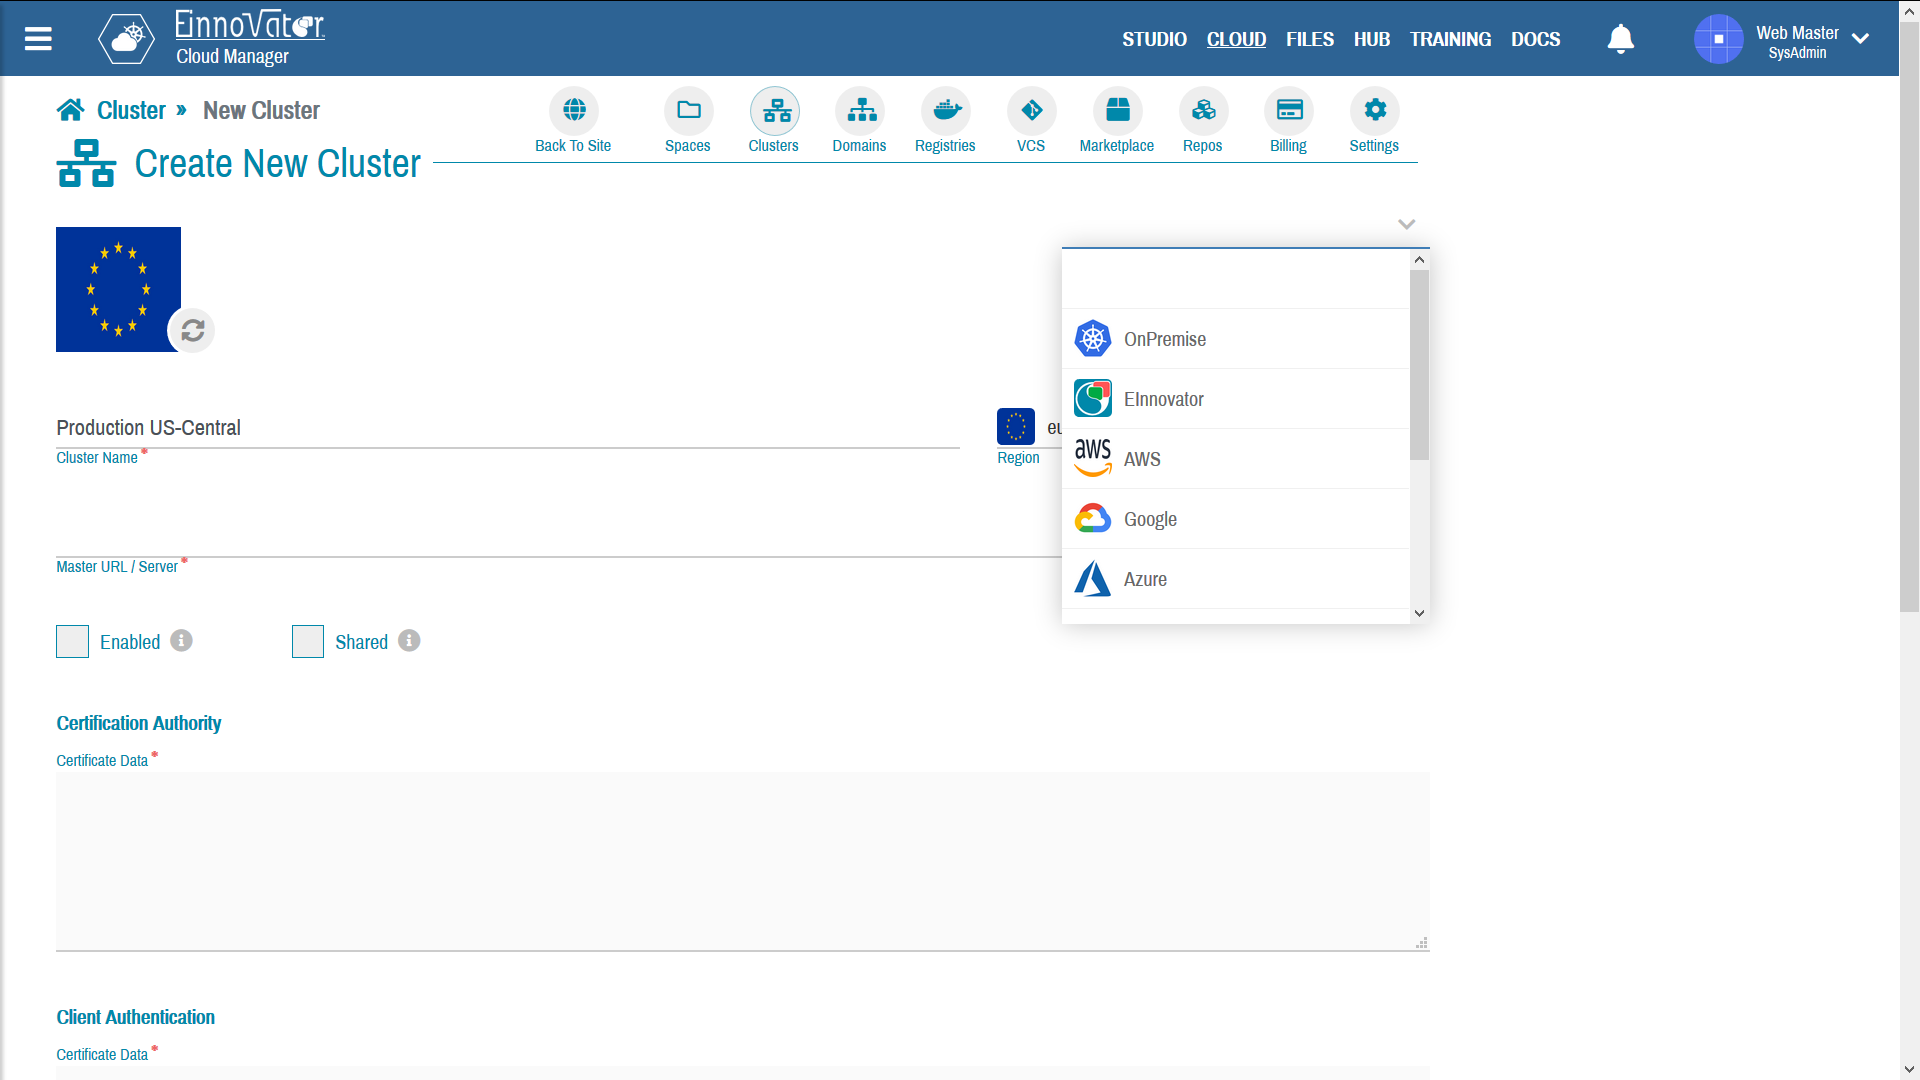
Likewise, the field Provider is intende to help manage large-scale multi private/public/hybrid deployments. It is a enumerated with a large number of values for miscellaneous cloud providers, plus OnPermise for on-premises clusters, Other for other public cloud providers.
Images below show snapshots of the Cluster creation page, with: a onpremise cluster (left-hand side), public cloud cluster (right-hand side).
Currently, CloudManager assumes that the K8s clusters are pre-installed/setup with other tools (e.g. using generic K8s tools, or provider specific UIs). This implies that the capacity of each cluster (e.g. number of nodes, memory, storage) are outside of control and can not be configured with CloudManager. Future versions of CloudManager, might have additional integration with K8s cluster managers and specific public cloud providers, as to allow some level of cluster scaling and resource allocation, and/or cluster creation, to be done directly from the CloudManager UI.
IBM Cloud
Login in IBM Cloud:
ibmcloud login -a cloud.ibm.com -r <<region>> -g Default
List your clusters in IBM Cloud:
ibmcloud ks cluster ls
OK
Name             ID                     State    Created          Workers   Location   Version       Resource Group Name   Provider
mycluster-free   bu7ahh5d0h3dhiskgmh0   normal   49 minutes ago   1         hou02      1.18.9_1528   Default  classic
Get Kubectl config for your cluster in IBM Cloud:
ibmcloud ks cluster config --cluster <<ClusterID>>
Azure
Login to Azure with the Azure CLI 2.0:
az login
Get your subscription ID:
az account show
Select your subscription by ID:
az account set --subscription <<subscription>>
Get Kubeconfig file for your cluster:
az aks get-credentials --resource-group einnovator --name <<cluster name>>
Importing a Cluster
IBM Cloud
Get Kubectl you IAM token for IBM Cloud:
ibmcloud iam oauth-tokens
Azure
Create a service principal using the Azure CLI 2.0:
az ad sp create-for-rbac --name cm
Changing "cm" to a valid URI of "http://cm", which is the required format used for service principal names
Creating a role assignment under the scope of "/subscriptions/<<subscription id>>"
  Retrying role assignment creation: 1/36
{
  "appId": "<<app ID>>",
  "displayName": "cm",
  "name": "http://cm",
  "password": "<<random generated password>>",
  "tenant": "<<tenenat ID>>"
}
Cluster Nodes
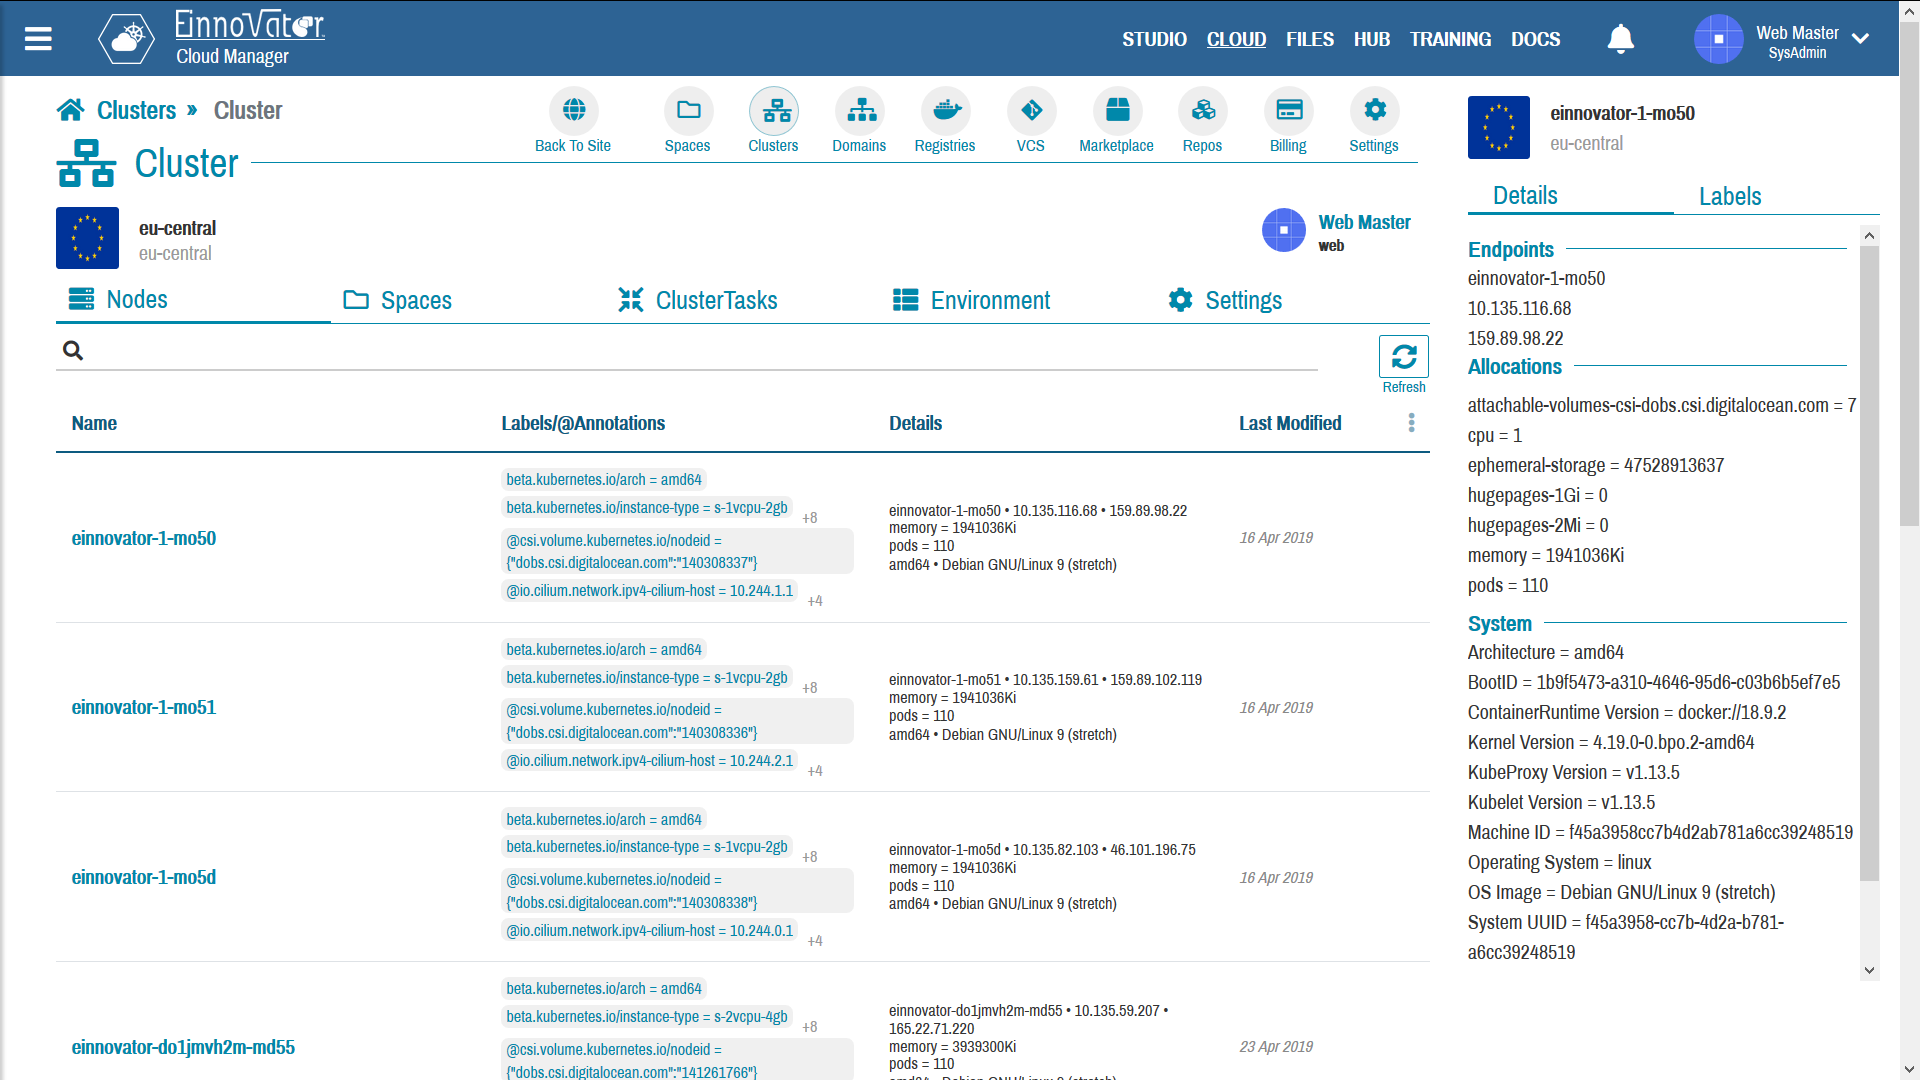
CloudManager allow to browser the list of Nodes currently part of a K8s cluster. This is displayed in tab Nodes in the cluster details pages. Assuming the Cluster master URL and credentials are properly configured. Basic information about is shown for each Node including OS and memory resources. Clicking on the Node name show complete details about node in the right-side panel.
Images below show snapshot of a Node list for a cluster, and details about a particular node on the right-side panel.
Cluster Spaces
CloudManager allow to browser the list of Spaces/Namespaces currently created in a cluster. This is displayed in tab Spaces in the cluster details pages.
The list includes all Spaces created with CloudManager (UI or API), as well as others that pre-exist in the K8s namespace (e.g. created with kubectl, helm, or other tool). We designated the former as managed or attached Spaces, and the latter as unmanaged or unattached Namespaces. Managed and unmanaged spaces can be distinguished visually, since only managed cluster have a owner (user or group).
Clicking the name of Space, display additional details information on a panel on the right-side. This information includes a summary of the count and status of Deployment running in the Space. Clicking on button View/Preview navigates to the Space details dashboard.
An unmanaged namespaces can be “promoted” to managed namespaces by clicking on Attach on side panel, or on list item action menu. When an unmanaged namespace is attached, it it assigned an unique UUID and tracked in the database of CloudManager. From that point on, it can be managed as if it had been created in CloudManager in the first-place.
Non-managed namespaces can only have its resource previewed but not fully-managed (edited/created/removed). To have full control and management capability for namespace resources form CloudManager UI the namespace needs to be attached first.
Images below show snapshot of a Space list for a Cluster, with details summary details about particular selected Space displayed on the right-side panel.
Only part of the information of a managed Space is kept in CloudManager database, with the remaining part kept only in the Kubernetes cluster etcd internal database. There is also some information that is kept only on the CloudManager database. Once a Space is attached it will be visible form CloudManager even if the K8s cluster becomes unreachable.
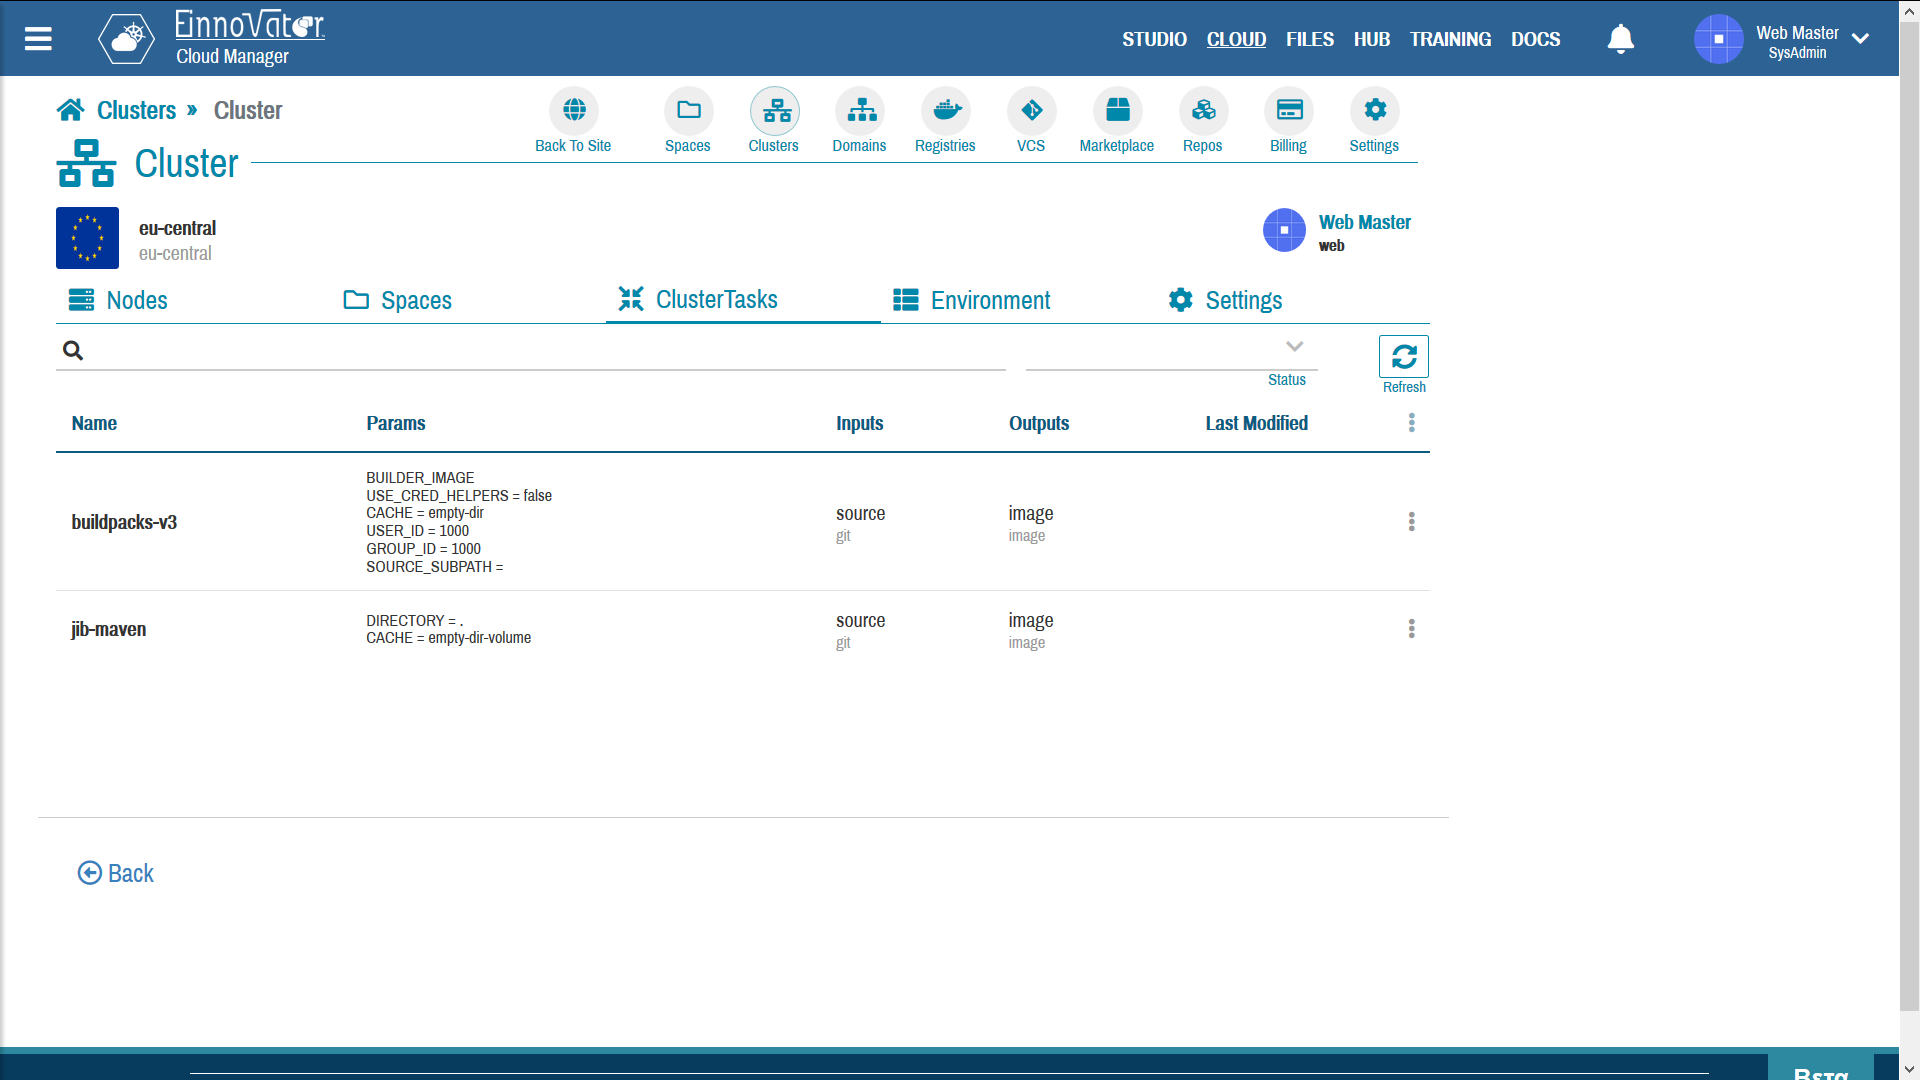
CI/CD Cluster Tasks
The list of CI/CD related artifacts installed at the cluster-level is displayed in tab ClusterTasks. This is set of Tekton ClusterTasks that are globally available to build Docker images. Administrators may want to make some ClusterTasks to be pre-available, to avoid each Space/Namespace owner have to make a separate installation. For example, in shared clusters pre-available in EInnovator Cloud cloud.einnovator.org several ClusterTasks are pre-installed. The CI/CD Build section of this documentation, describes show this can be done.
Images below show snapshot of a list of CI/CD Tekton ClusterTasks .
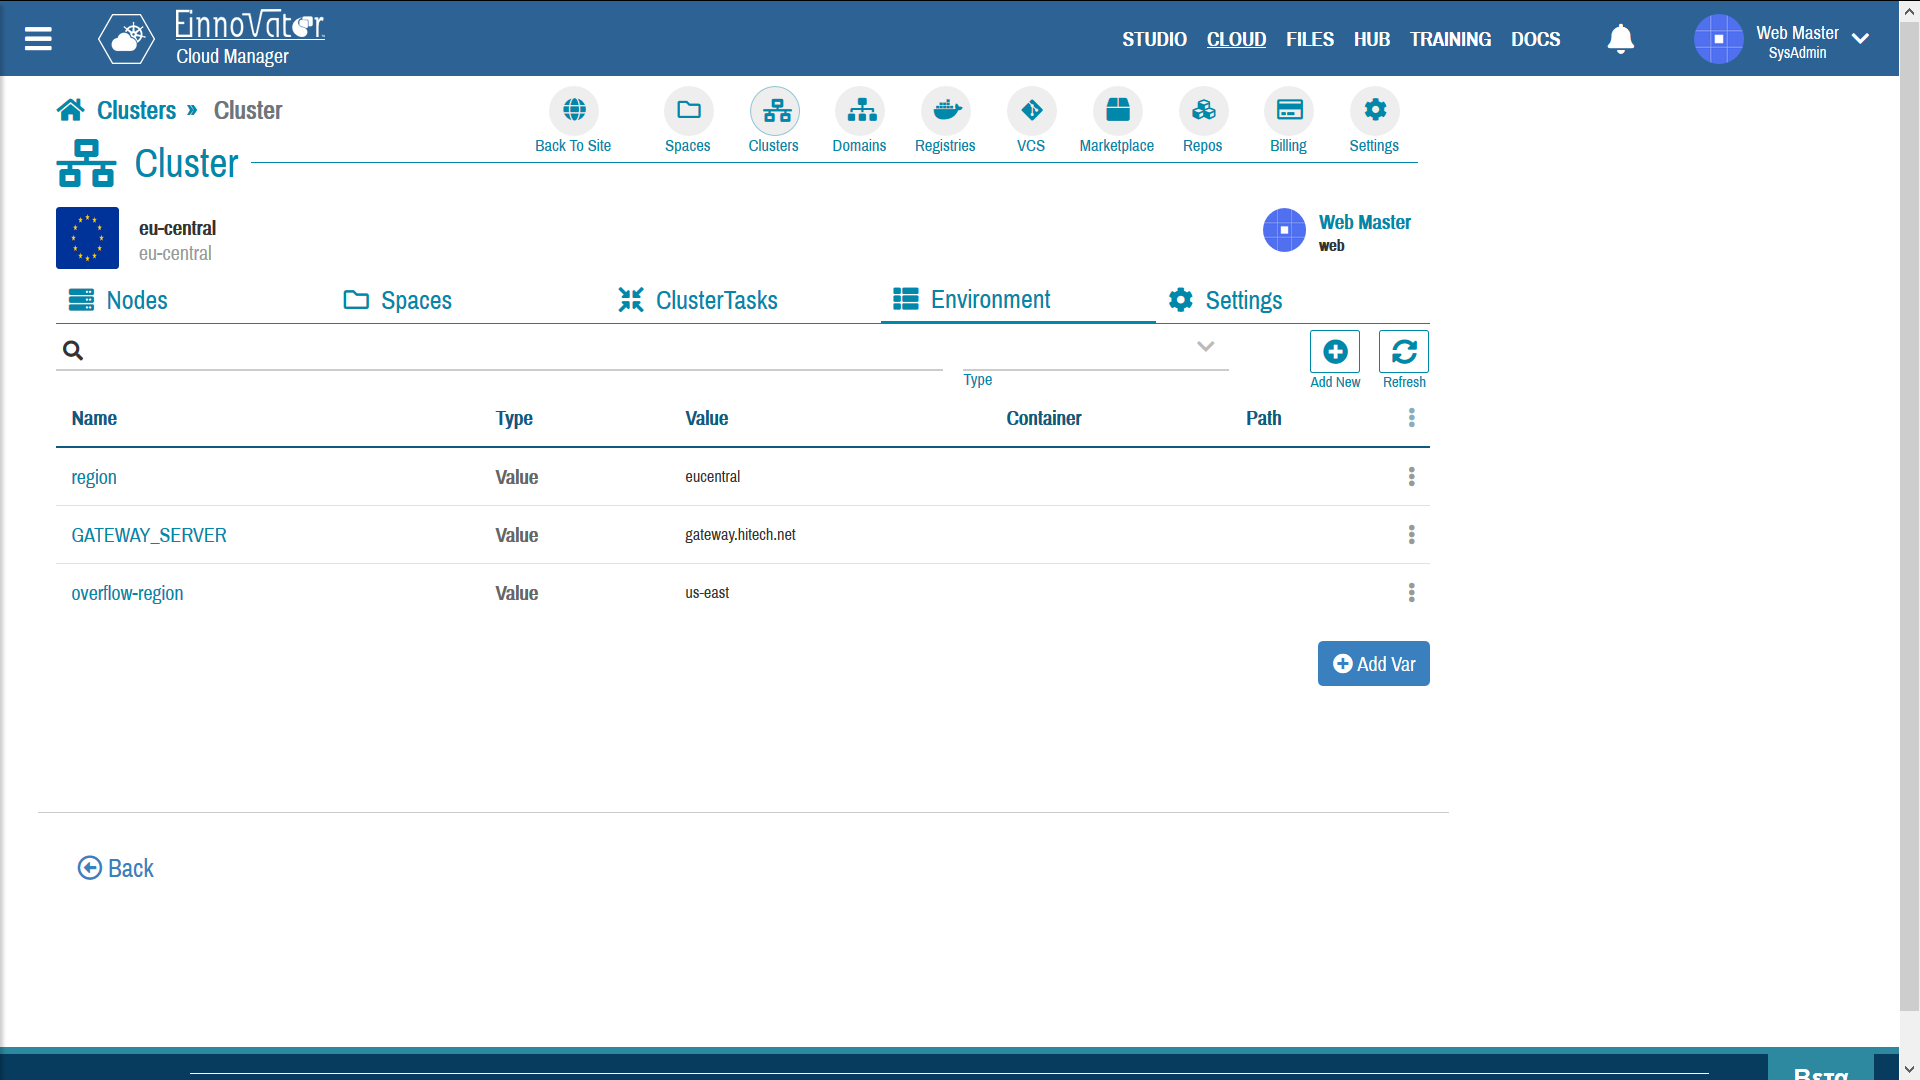
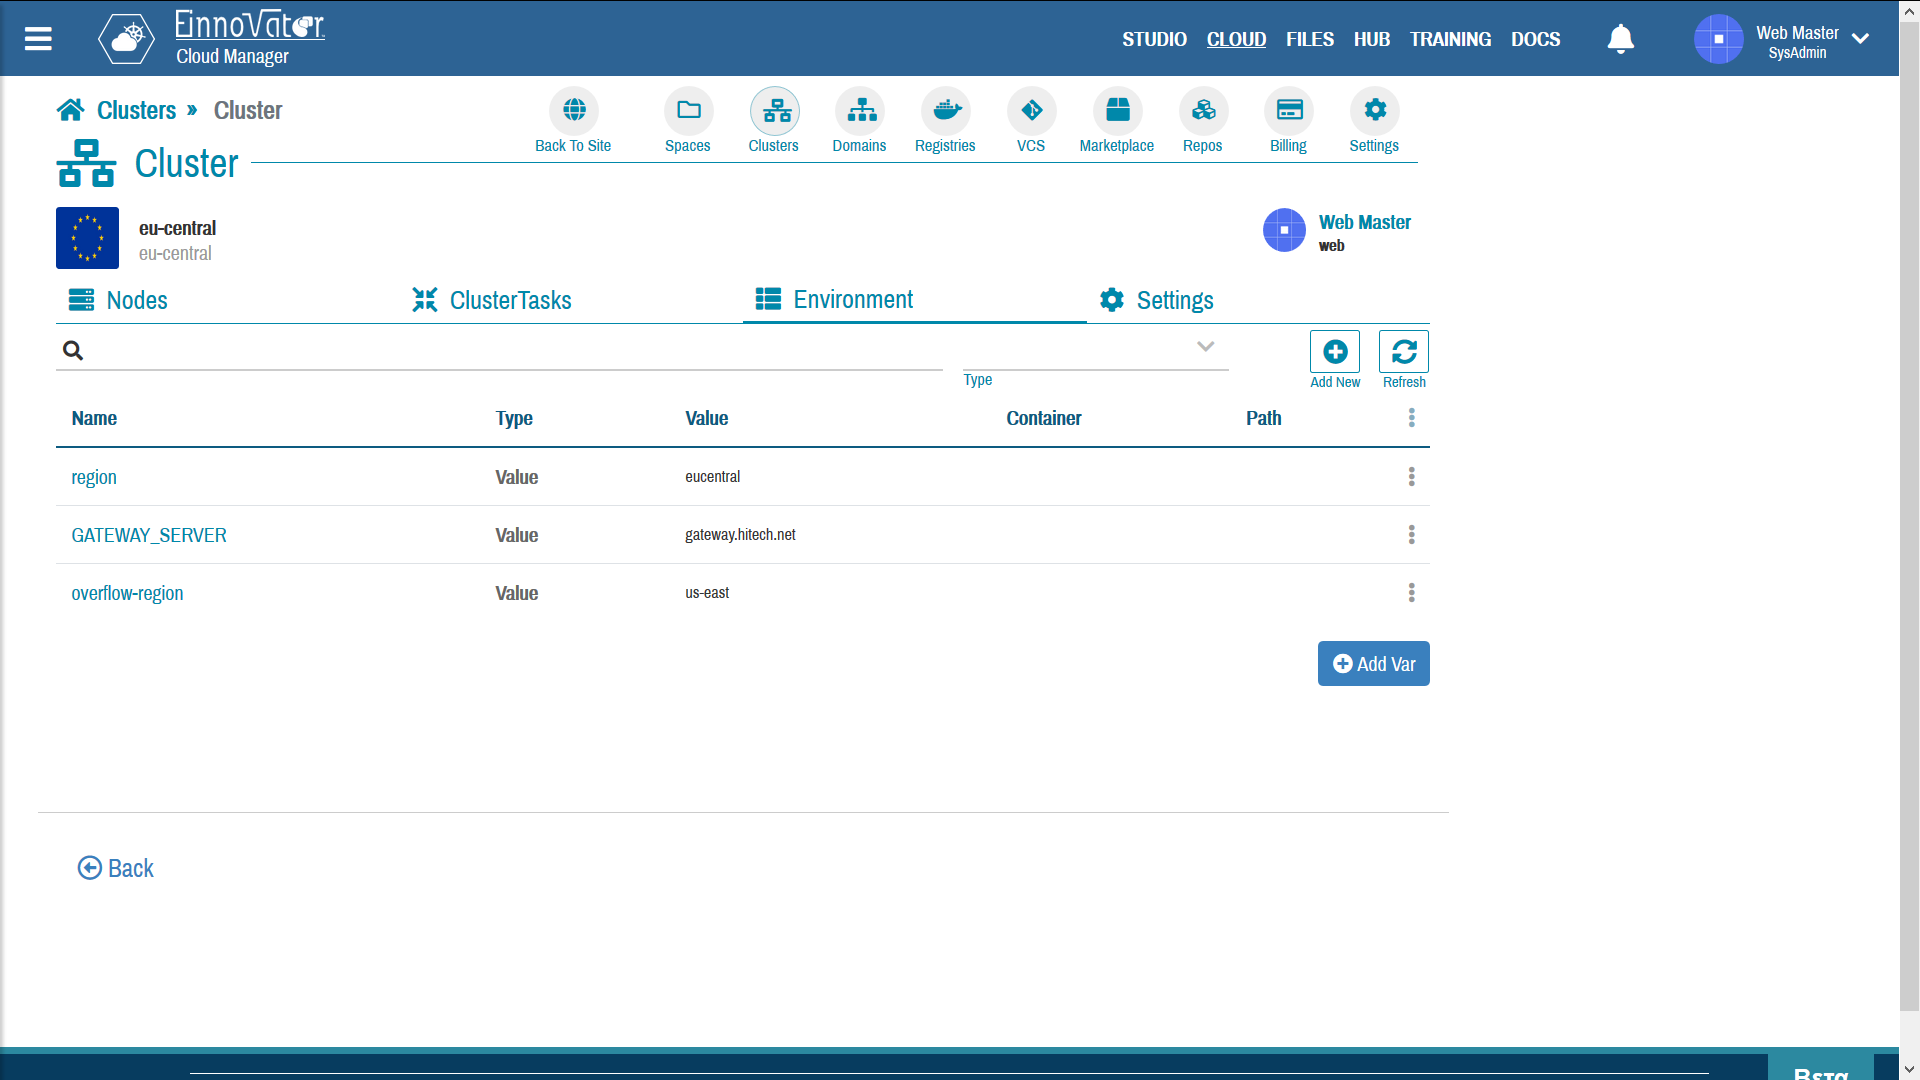
Cluster Environment Vars
CloudManager allows environment variables to be at the cluster-level, just like at the space-level. This is useful to pass cluster-level global information to applications. Managed Deployments that are configured to inherit cluster-level variables, will these variables automatically by merging with space-level, and deployment level variables.
The UI to create/edit environment variables at cluster-level is somewhat similar to one available at the space-level but simpler, as it does not support variable of category Secret and ConfigMap.
Image below show snapshot of a list of CI/CD Tekton ClusterTasks .

Comments and Discussion