Getting Started with EInnovator Cloud Manager
Register an Account
The most direct way to get starting using Cloud Manager, is to register an account in EInnovator public cloud. If you have not done it yet, head on to https://cloud.einnovator.org and register by providing your username/email and selecting a password. Confirm the account by clicking on the link on the confirmation email to login automatically.
Once you login, you should be able to see the dashboard for Cloud Manager UI shown below by clicking on Cloud (Manager) link or toolbar button:
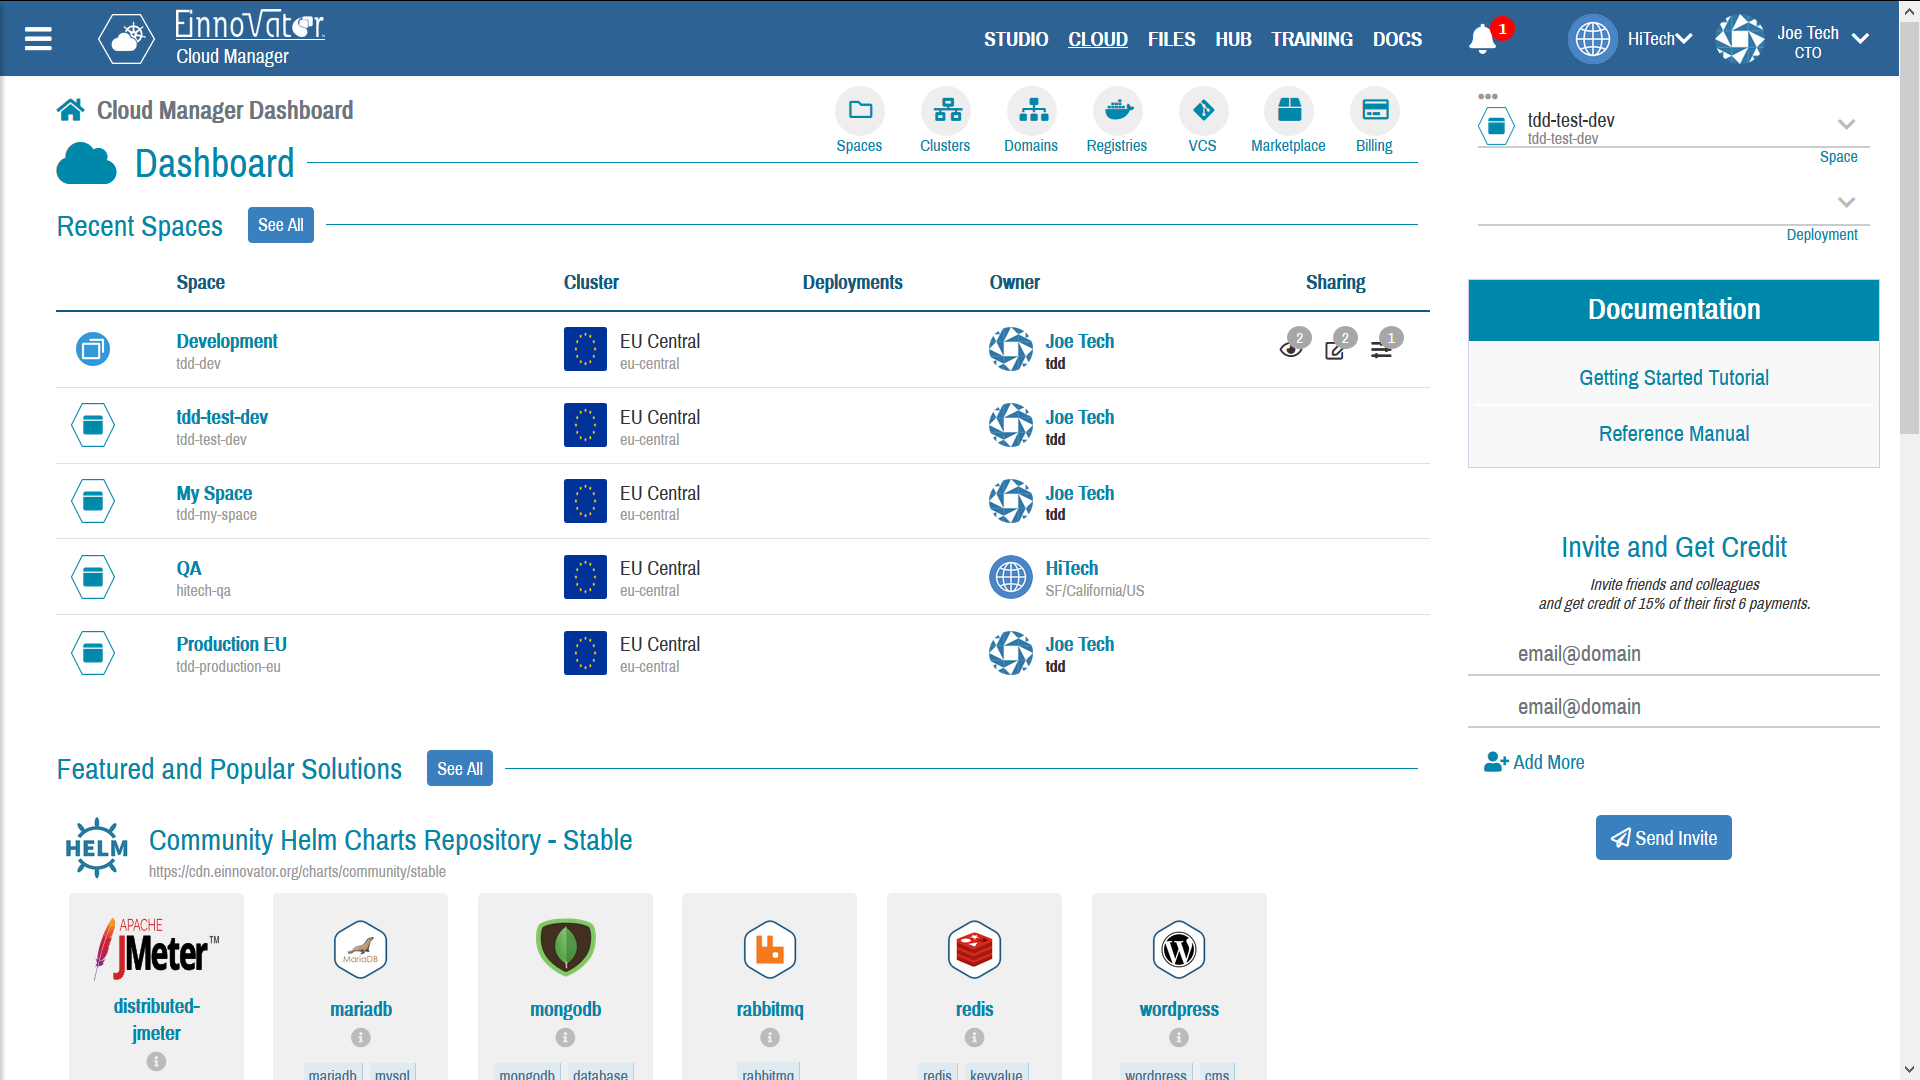
When you first login, Cloud Manager will automatically create a Space for you in the default shared cluster. The Space name is derived from your user name — e.g. joe99-default if your username is joe99. You can use this space to get started. Without upgrading you will be able to deploy only shared sandbox services. (e.g. an Nginx sandbox, or MySQL sandbox, or an SSO Gateway sandbox).
Upgrading
To deploy any of your applications, create configuration resources, install any service or image your desired, or create additional Space beyond the initial one, you need to upgrade your account by entering your credit card for validation. This is done in the Billing page. To perform card validation a charge of 1$ is done, and if successful you receive 20 credits free to get started. Once the 20 are exhausted, your card is charged only for the services, resources, and time duration you actually use.
If you have issues upgrading, contact support.
Gaining Credits by Inviting Others
A great way to gain credits on EInnovator cloud is to invite friends&colleges to join. For each accepted invitation, you get additional credits in proportion to the amount the use you invite is billed.
Installing on Pre-premises
Another way to get started with CloudManager is to install in your own cluster (e.g. your laptop, organization data-center, or other public cloud). See Deploy CloudManager On-Premises for details.

Comments and Discussion